Thursday, 13 December 2012

Portraits

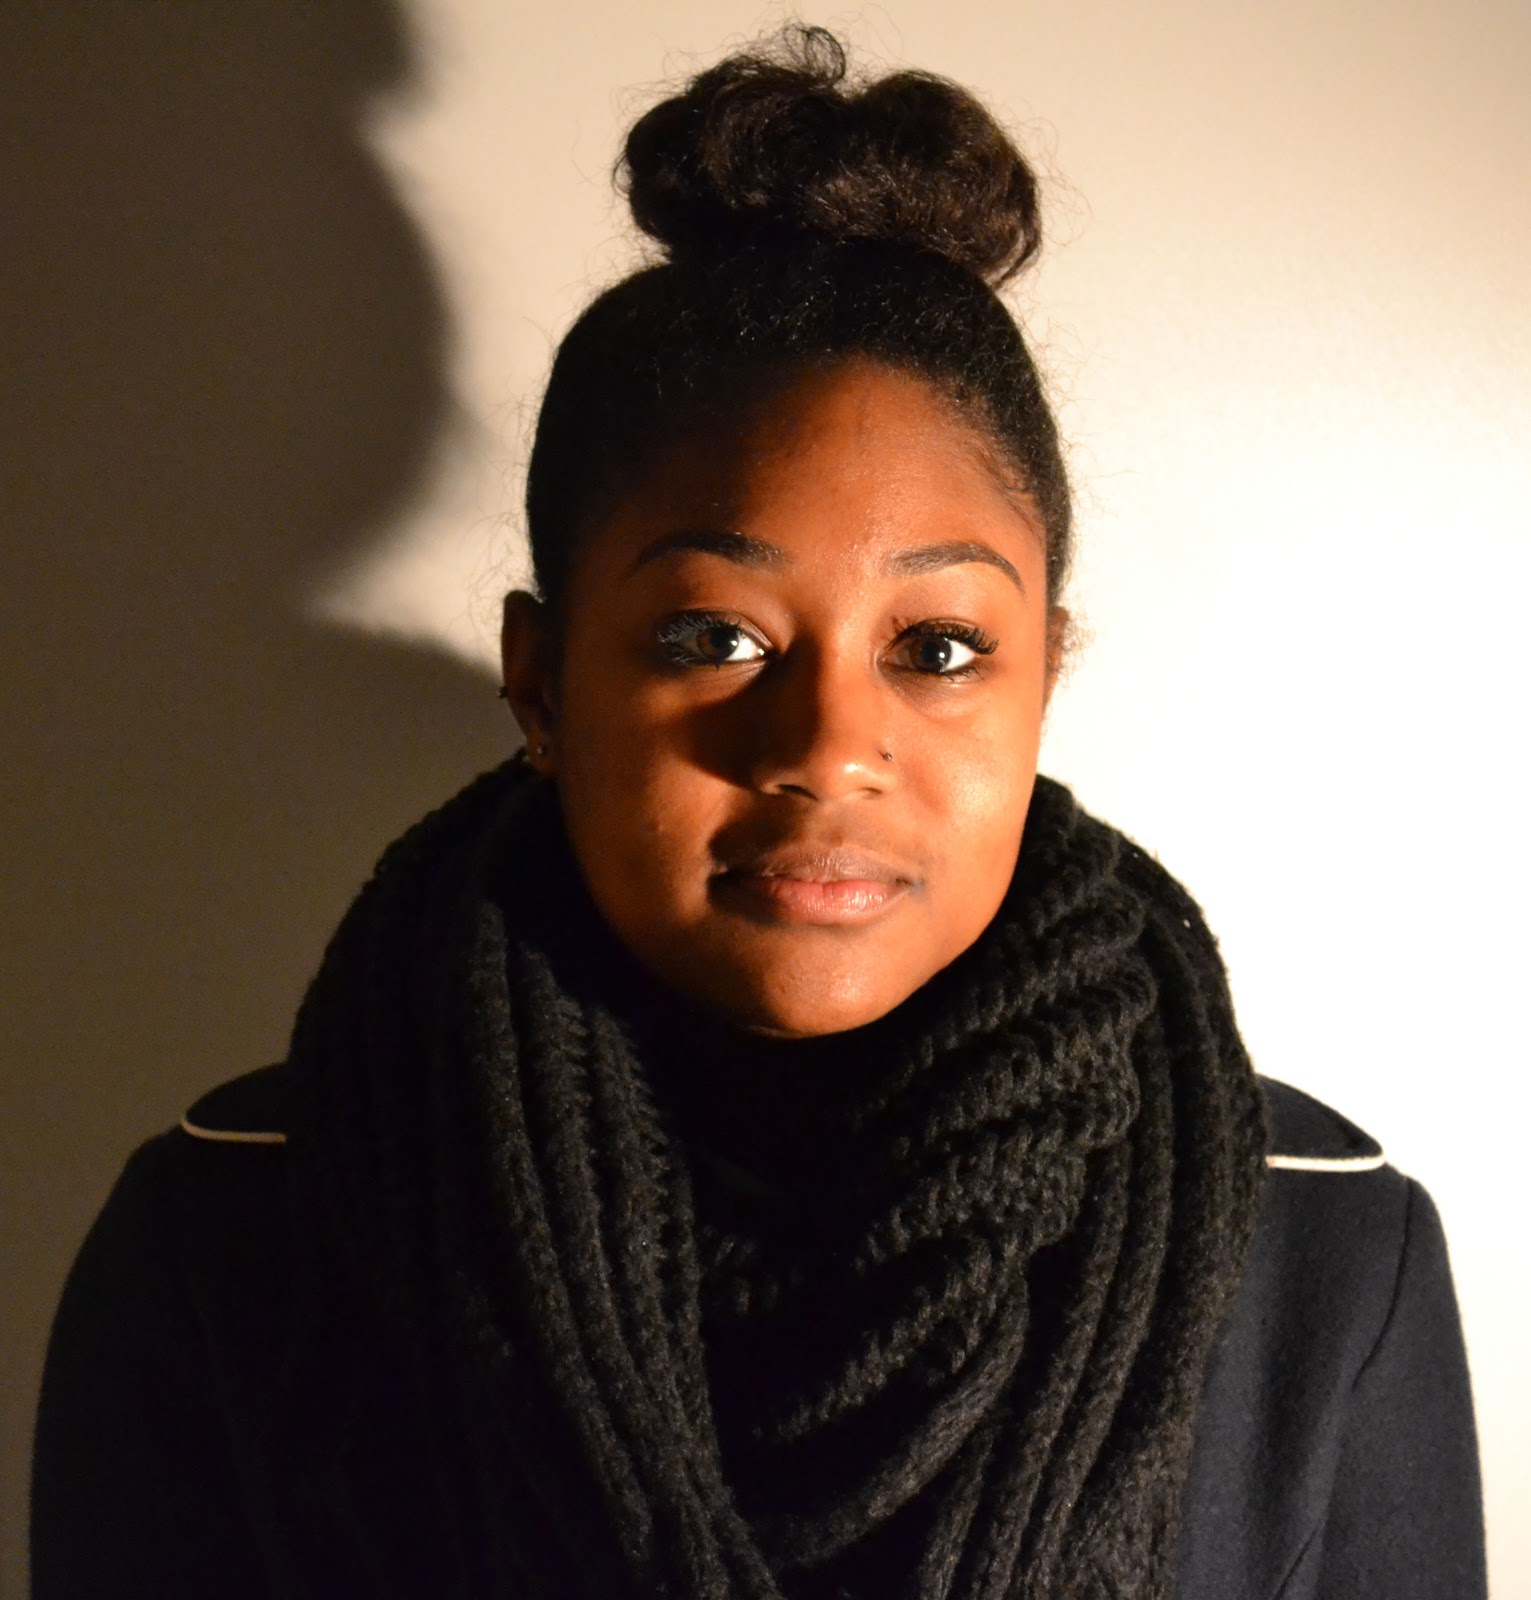
These photographs were taken with a Nikon D3100. 


Aperture: F4.5 Speed: 1/60 Lens: 30mm ISO: 1600


Aperture: F5.6 Speed: 1/13 Lens: 48mm ISO: 3200


Aperture: F5.3 Speed: 1/15 Lens: 40mm ISO: 3200


Aperture: F5.3 Speed 1/15 Lens: 40mm ISO: 1800


Aperture: F5.6 Speed: 1/15 Lens: 55mm ISO: 2000


Aperture: F4.5 Speed: 1/60 Lens: 30mm ISO: 1800

Wednesday, 12 December 2012

Neon lights

These photographs were taken on a Nikon D3100 in Times square, New York


Aperture: F4 Speed: 1/60 Lens: 24 mm ISO: 400


Aperture: F5.6 Speed: 1/20 Lens: 55 mm ISO: 400


Aperture: F5 Speed: 1/15 Lens: 36 mm ISO: 400


Aperture: F5.6 Speed: 1/50 Lens: 52 mm ISO: 400


Aperture: F5.6 Speed: 1/50 Lens: 55 mm ISO: 400


Aperture: F5.6 Speed: 1/100 Lens: 55 mm ISO: 400

Tuesday, 11 December 2012

Photoshop Light Painting


1. Open a picture in Photoshop
2. Create a new layer and use the free-form pen tool to create the lines
3. Select the brush tool, change the size and in the brush pre-set menu change the pressure to pen pressure and make sure the colour is white. 
4. Click on the path pallet, stroke path and select the brush tool.
5. Open the blending mode options and change the inner and outer glow of the line by editing the colour, size       and noise.
6. Create another new layer and add in some more lines with the free-form pen tool over the original ones.
7. Click on the path pallet and use the same brush tool as before.
8. Lower the opacity of the line and add some Gaussian blur to give a blurred effect.
9. Add a new layer, click on the brush tool and edit the brush pre-sets.
10. Increase the spacing, scattering and size jitter to get a random sparkle effect. 
11. Click over the lines created previously.
12. Open the layer blending options and play around with the inner and outer glow settings.

Saturday, 8 December 2012

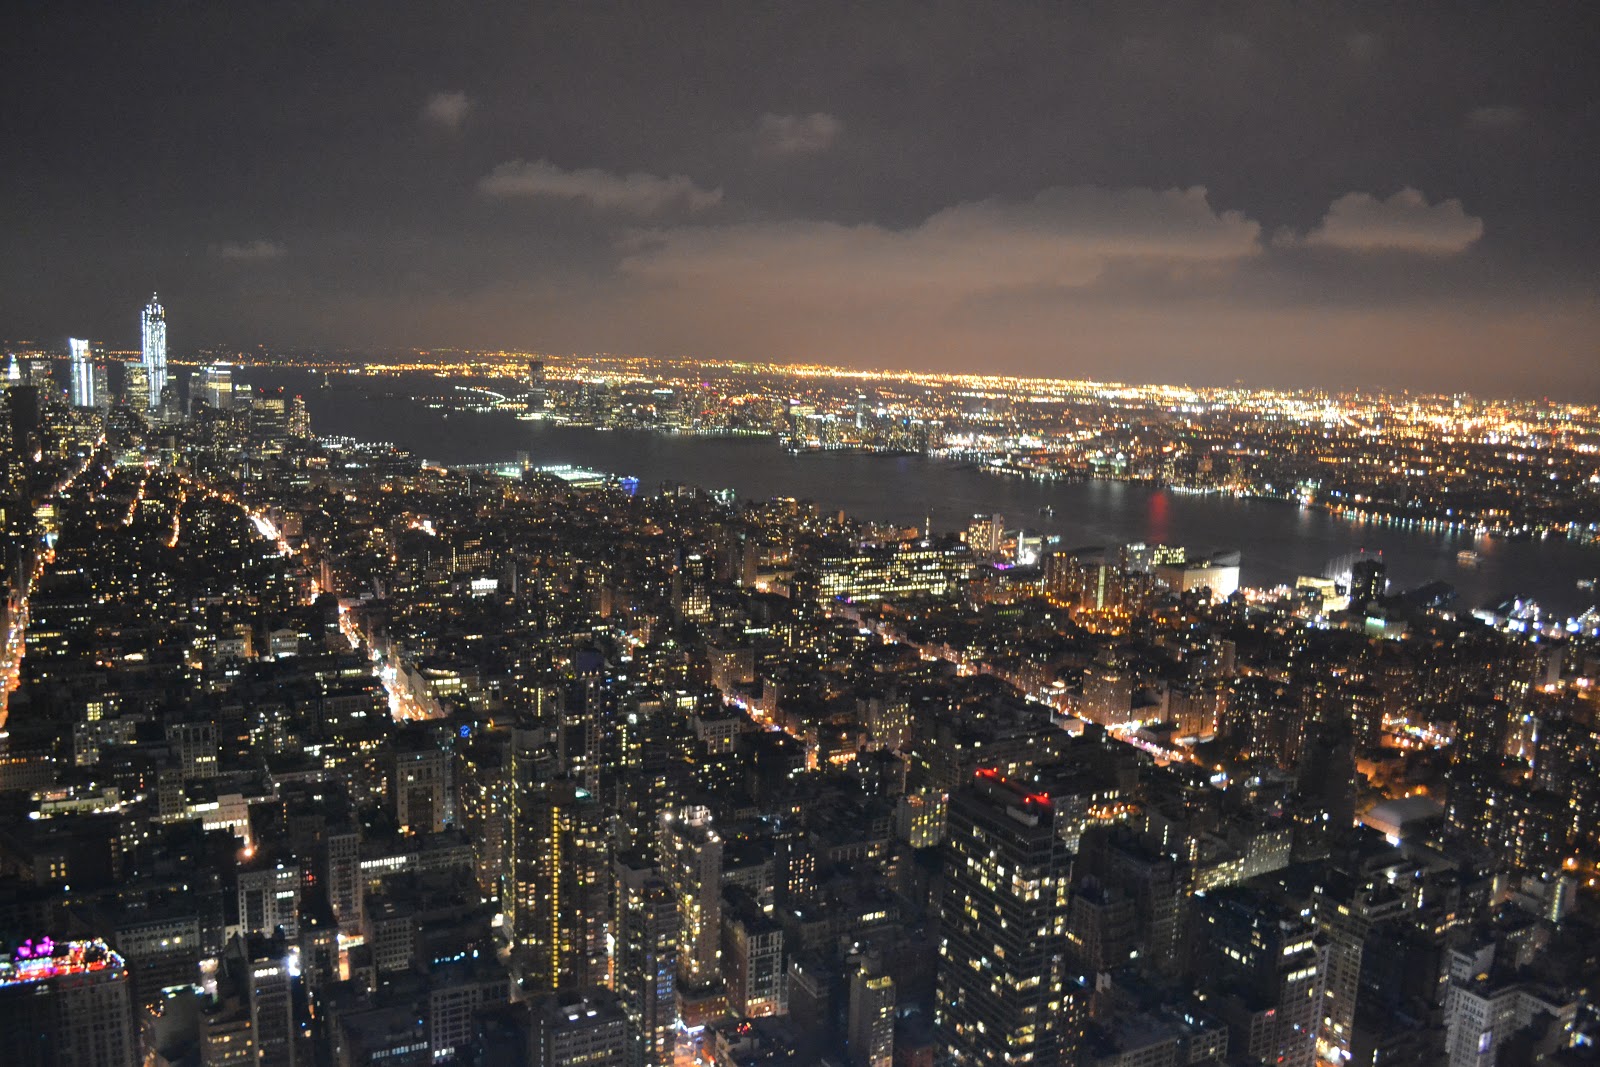
City Lights

These photographs were taken on a Nikon D3100, from the top of The Empire State building, New York.


Aperture: F3.5 Speed: 1/8 Lens: 18 mm ISO: 3200


Aperture:F5.3 Speed: 1/10 Lens: 18mmISO: 3200


Aperture: F3.8 Speed: 1/15 Lens: 20 mm ISO: 3200 


Aperture: F3.5 Speed: 1/6 Lens: 18 mm ISO: 3200


Aperture: F3.5 Speed: 1/13 Lens: 18 mm ISO: 3200


Aperture: F3.5 Speed: 1/5 Lens: 18 mm ISO: 3200


Aperture: F5.6 Speed: 1/2 Lens: 55 mm ISO: 3200 

Friday, 7 December 2012

IPAD Light Painting

These photographs were taken using a Cannon EOS 400D. 

Aperture: F10 Speed: 10 Lens: 31mm ISO: 100


To improve these pictures I could layer them up with others and use the blending modes to get different effects, I could adjust the hue/saturation to change the colour of the light or adjust the brightness/contrast.

Patrick Rochon Analysis


This is a snapshot of a video by Patrick Rochon, a light painting photographer with over 19 years experience. He has done work for magazines, cd cases, DVD's, posters and other promotional materials. This piece was made in 1998 for a Toyota Altezza advertisement. The theme of the piece is cars, this relates as the light painting around the car gives the impression the car is moving fast. The subject of the piece is made to look more abstract because of the bright colours used. I chose to analyse this piece as I would like to experiment using a similar light painting technique.
The image is take from a strange angle, being low down looking up at the car and it is slightly tilted as well. The arrangement of the picture is very effective as it makes the car stand out from the colourful background that was made with the lights. 
I like this photograph as the colours are so sharp and I love the effect that the light painting gives to the piece.

Here are some more examples of his work:


Thursday, 6 December 2012

Light Painting

These Photographs were taken with a Nikon D3100 using the setting F5.3 for 10 seconds. The 10 seconds allowed someone to draw with a light pen and its pathway captured in the picture.


Some of the photographs could be improved by cropping out some of the red lights seen in the background or the colours could be changed in photoshop using the Hue/Saturation tool. These images could also be used for double exposure effects by layering them up and changing the blending modes.

Thursday, 29 November 2012

Portraits

Original photograph, with filter 5 on for 6 seconds.


I cropped the image to make it portrait:

I scanned the image into photoshop and used the plaster tool to clean up the image:


Tuesday, 20 November 2012

David Bailey Analysis

Jack Nickleson
This photograph was taken in 2011 by David Bailey of Jack Nickleson. David Bailey was born in 1938 and is known as one of the best british photographers. He has previously worked for John Cole's Studio five and as a fashion photographer for Vogue magazine. Most of his photograph's are of celebrities or models.
It is a close up portrait and the subject of the picture is Jack Nickleson, he is one of the biggest actors alive and is known as an american hell raiser. The image portrays the actors character through the facial expression and the dramatic lighting used. The strong shadow on the right side of his face could suggest he has a dark side, this effect is made using the front light. The background of the image is kept white so the subject stands out.
The photograph has been planned out to capture emotion and express the character of Jack Nickleson, in a studio. David Bailey has most likely cropped the image in the darkroom to get a close up image of the subjects face. He has also used contrast filters to get the strong black and white shades in this picture.
The mood of the photograph is anger, to show what the actor is like, the artist likes to bring out peoples emotions or characteristics within his photographs.

Another example of David Bailey's work:


Thursday, 15 November 2012

Mindmap


Andre Kertesz Analysis


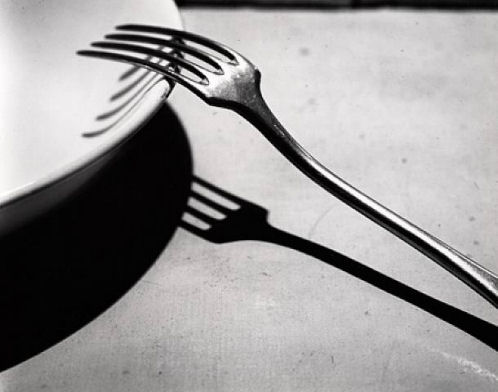
This photograph was taken by Andre Kertesz. A Hungarian photographer born in 1894 and died in 1985, he was most known for his photojournalism. The name of photograph is 'The fork', this is because the subject of the piece is a fork. It is a realistic photograph as it is clear and hasn't been exaggerated in anyway. 
It is a close up image of a fork resting on the side of a bowl, they have been placed under a light to get a clear shadow below the objects. This gives a strong contrast between the objects that are light shades and the shadows which are black.
The artist has used a black and white film camera to take the photograph and used filters in the darkroom to create more contrast when developing the image. 


Tuesday, 6 November 2012

Light brief


Andre Kertesz- Hungarian photographer born in 1894-1985. He used an SLR film camera to photograph everyday still life and household objects. He uses light to create dramatic shadows and get strong contrasts of tones.
Edgar Martins- Portugese photographer that works in britain, born in 1977. He photographs night life, daylight and sunrises.
David bailey- British photographer born in 1938, most of his work was done in the 60's. He photographs portraits of celebrities in black and white, for vogue magazine. He focuses light on the face to get dramatic, clear pictures, all of his work is down in a studio to help get this effect.
Picasso- Spanish artist from 1881-1973, inspired by Gjon Mili to create light graffiti photographs.